To maximize arthritis pain relief with red light therapy, you’ll want to precisely target your affected joints, such as knees, hands, shoulders, or hips. Position the device directly over the joint, ensuring consistent distance and angle for deep light penetration. Focus on surrounding tissues without misalignment, and maintain a regular routine for the best results. If you want to learn more about effective placement patterns and optimizing your therapy sessions, keep exploring these strategies.
Key Takeaways
- Precisely target affected joints by understanding their anatomy for deep light penetration.
- Use gentle pressure and proper device positioning to follow the joint’s shape and contours.
- Maintain consistent distance and angle to ensure effective and even light coverage.
- Focus on the pain or inflammation hotspots within the joint for maximum relief.
- Regularly track progress and adjust placement to optimize treatment outcomes.
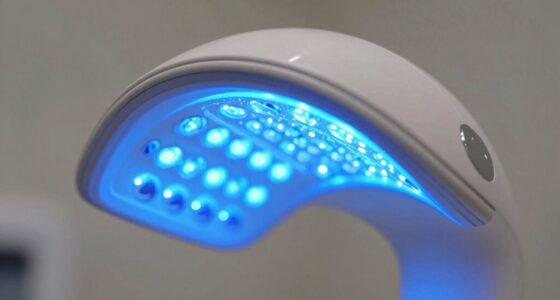
red light therapy device for arthritis
As an affiliate, we earn on qualifying purchases.
As an affiliate, we earn on qualifying purchases.
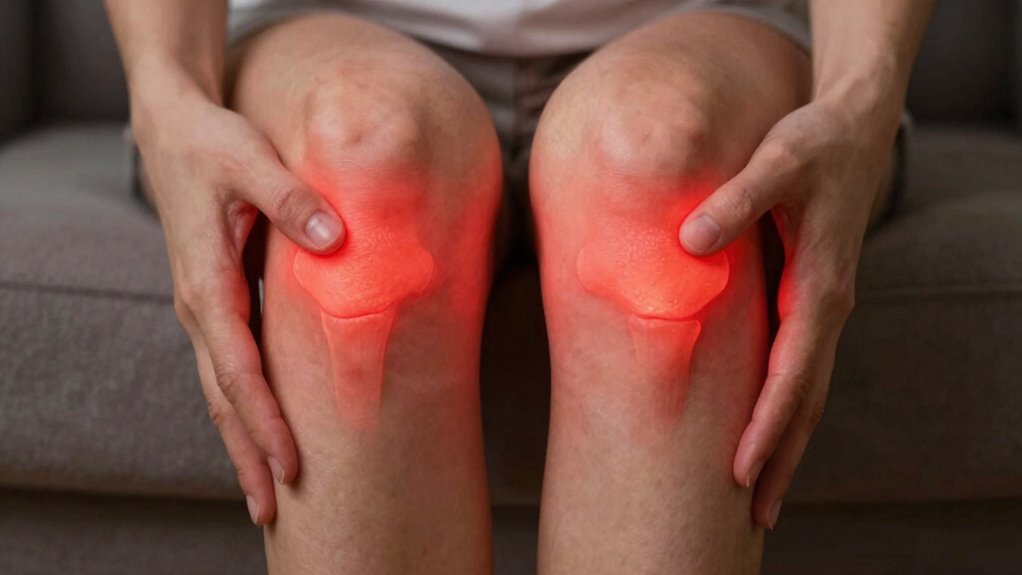
How Red Light Therapy Helps Reduce Arthritis Pain

Red Light Therapy can be an effective way to reduce arthritis pain because it stimulates cellular functions that promote healing and decrease inflammation. When you use red light, it penetrates your skin, targeting areas with joint inflammation and muscle stiffness. This process helps boost circulation, encouraging nutrients and oxygen to reach affected tissues. As a result, swelling reduces, and your joints feel less painful. The therapy also stimulates the production of ATP, which enhances cellular repair and reduces muscle stiffness. Over time, consistent treatment can improve joint mobility and decrease discomfort. You may notice a reduction in stiffness and swelling, making daily activities easier. Red Light Therapy offers a non-invasive, drug-free approach to managing arthritis symptoms effectively at the cellular level. Additionally, incorporating powerful persuasive words into your treatment routine can motivate consistent use and maximize benefits.
Why Proper Placement Is Key to Effective Treatment

Proper placement of the light guarantees you target the right joint accurately, maximizing relief. Consistent application and following customized treatment patterns help you get the best results. When you focus on precise positioning, your therapy becomes more effective and efficient. Incorporating balance and motivation techniques can further enhance your treatment outcomes. Additionally, understanding joint anatomy can assist in optimizing light placement for better results. Paying attention to recovery routines ensures sustained improvements and prevents setbacks. Recognizing tissue response plays a crucial role in adjusting your approach for optimal healing. Being aware of proper technique can also minimize discomfort and improve overall effectiveness.
Accurate Joint Targeting
To guarantee the therapy effectively targets your joint pain, precise placement of the red light device is essential. Understanding your joint anatomy helps you position the device accurately, ensuring the light wavelength penetrates deeply where it’s needed most. Proper targeting can make the difference between relief and wasted energy. When you align the device correctly, you activate healing processes right at the source of discomfort. Accurate joint targeting also considers the contrast ratio of the light, which affects how well the therapy penetrates tissue. Think about how light wavelength interacts with tissue layers to optimize treatment effectiveness. Proper placement not only benefits from knowledge of the anatomical structure but also requires considering tissue density variations that influence light absorption. Imagine regaining mobility, easing pain, and feeling confident in each movement. Proper placement isn’t just about technique; it’s about empowering your body to heal itself. Take control of your treatment with these key insights: joint anatomy understanding is crucial for effective therapy.
- Feel confident knowing you’re targeting the root of your pain
- Maximize relief by focusing on the exact joint areas
- Enhance healing efficiency with proper device positioning
- Experience faster results with precise targeting
- Restore your quality of life through correct placement
- Remember that device optimization ensures the light reaches your joints effectively.
Consistent Light Application
Ensuring consistent light application is crucial for achieving ideal results from your therapy. Proper placement and steady application of red light help maintain effective light intensity, guaranteeing your joints absorb the therapy effectively. Inconsistent application or varying light intensity can reduce treatment efficacy and slow progress. It’s important to stick to a regular treatment schedule, as consistent treatment frequency boosts the benefits of red light therapy. By applying the light evenly and at the right intensity each session, you maximize the healing process. Remember, irregular sessions or changes in placement can disrupt your progress, so stay disciplined with your routine. Proper positioning of the light ensures that your joints are evenly exposed, making your treatment more effective. Consistency ensures your joints receive the necessary exposure needed to reduce inflammation and promote healing over time. Maintaining light consistency is essential for optimizing therapeutic outcomes and supporting your recovery journey.
Customized Treatment Patterns
Because red light therapy relies on precise targeting, the placement of the light directly impacts its effectiveness. Proper placement guarantees you target affected joints accurately, maximizing benefits like improved joint mobility and inflammation reduction. Customizing your treatment patterns allows you to focus on specific areas that need healing most, avoiding wasted energy on unaffected regions. When you position the light correctly, you promote faster recovery, lessen discomfort, and restore movement more effectively. Proper light placement is essential for achieving optimal results and ensuring that therapy is both safe and effective. Understanding red light therapy principles helps you optimize your approach for better results. Additionally, using proper device positioning techniques can help ensure consistent and effective treatment sessions. Being aware of targeting accuracy can significantly enhance the overall efficacy of your therapy sessions. Incorporating privacy considerations when managing your treatment data can also improve your overall experience and confidence in your therapy routine.
- Feel empowered knowing each session is optimized for your unique needs
- Experience relief as inflammation diminishes and joint mobility improves
- Gain confidence in your ability to manage arthritis symptoms
- Reclaim daily activities with renewed comfort and flexibility
- Embrace a personalized plan that truly makes a difference in your healing journey
How to Choose the Best Red Light Placement for Your Joints

Choosing the right red light placement is vital for maximizing relief in your joints. To do this effectively, consider lighting angles—position the device to guarantee even coverage without shadows. Proper device calibration is essential; ensure your device emits the correct wavelength and intensity for ideal results. Focusing the light directly on the affected area, avoiding obstructions, is crucial for effective treatment. Here’s a quick guide:
| Placement Tips | Details |
|---|---|
| Lighting Angles | Keep the device at a 30-45° angle for better coverage |
| Device Calibration | Confirm wavelength and intensity are set correctly |
| Distance from Skin | Maintain 6-12 inches for effective penetration |
| Consistency | Use sessions regularly for best results |
| Targeted Focus | Direct light precisely on pain points |
Additionally, understanding the best placement patterns can significantly improve treatment outcomes by ensuring the light penetrates effectively. Proper joint targeting techniques can lead to more efficient relief and faster recovery. Using safe and reliable power sources ensures consistent device operation and safety during your sessions. Incorporating these lighting best practices can further optimize your therapy sessions for better joint health. Moreover, paying attention to treatment duration can help prevent overexposure and enhance overall effectiveness.
Best Strategies for Targeting Commonly Affected Joints (Knees, Hands, Shoulders, Hips)
To get the most benefits, you need precise targeting techniques that focus the red light directly on your affected joints. Proper light placement guarantees the therapy penetrates deeply and works effectively. Urban pursuits in your treatment area can support overall wellbeing and complement your therapy. By optimizing your approach, you can improve relief for knees, hands, shoulders, and hips. Using vetted products designed specifically for safe and effective use can enhance treatment outcomes.
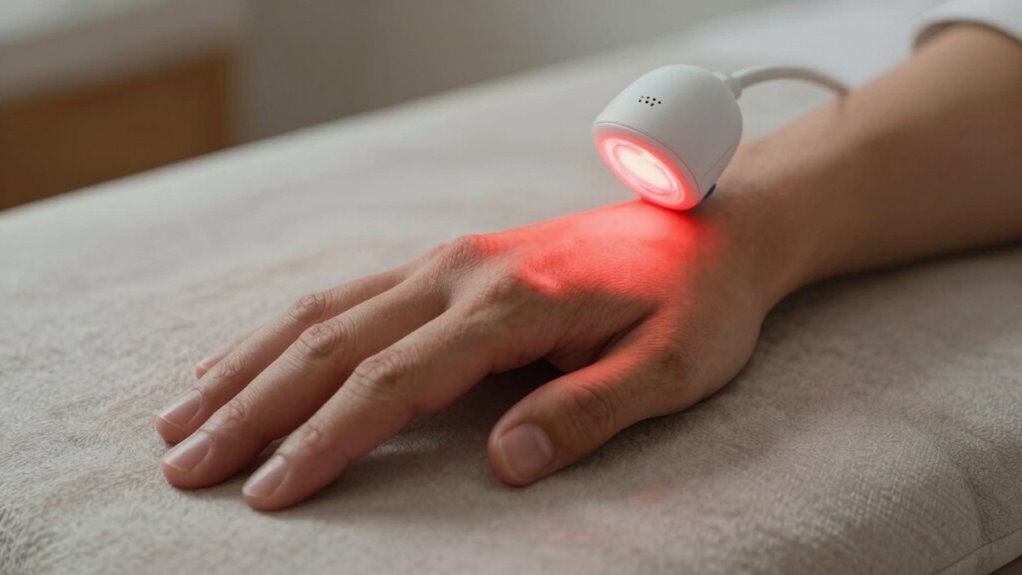
Precise Targeting Techniques
Effective targeting of red light therapy for arthritis requires precision to guarantee the light reaches the affected joint tissues. To maximize benefits, focus on positioning the device so the light penetrates deeply, improving skin absorption and supporting joint flexibility. Proper placement ensures the therapy targets the root of discomfort, reducing stiffness and restoring mobility. Use these strategies to enhance your treatment:
- Focus on the exact joint location, avoiding surrounding tissues
- Maintain consistent distance for ideal skin absorption
- Use gentle pressure to mold the light device to irregular joint shapes
- Apply in a well-lit, relaxed environment for concentration
- Track progress to adjust placement for better results
- Be aware of the importance of proper device selection to ensure effective therapy delivery.
Optimal Light Placement
Proper light placement is key to guaranteeing red light therapy effectively reaches the affected joints. To maximize benefits, position your device so that the light intensity is sufficient without causing discomfort. Confirm your device is properly calibrated for ideal output, which helps deliver consistent energy levels to targeted areas like knees, hands, shoulders, or hips. Position the device close enough to the skin to allow the light to penetrate deeply, but avoid direct contact that might cause irritation. Use overlapping coverage for larger joints, and focus on specific areas with the highest pain or inflammation. Adjust the device’s angle and distance as needed, and verify that the light intensity remains steady throughout your session to achieve the best therapeutic results.
Tips for Maintaining a Consistent Red Light Therapy Routine
Maintaining a consistent red light therapy routine can be challenging, but establishing clear habits makes it easier to stick with it. To stay on track, focus on device calibration so your light intensity remains effective, and set a fixed session duration to build routine. Consistency helps your body adapt and maximizes benefits for arthritis relief.
Here are some tips to keep you motivated:
- Schedule your sessions at the same time daily
- Keep your device calibrated for peak results
- Use a timer to ensure consistent session length
- Track your progress to stay motivated
- Prepare your space in advance for quick setup
Avoid These Common Mistakes When Positioning Your Red Light Device

While sticking to a routine is important, how you position your red light device can make or break your results. One common mistake is neglecting proper lighting angles; for ideal absorption, aim the device directly at the target joint without angling it away. Incorrect lighting angles can reduce effectiveness and waste your time. Additionally, avoid skipping device calibration. Ensuring your device is properly calibrated guarantees consistent power output and reliable treatment sessions. Always follow the manufacturer’s instructions to set the correct intensity and distance. Misalignment or improper calibration can diminish benefits and prolong recovery. Be precise with placement, keep the device aimed correctly, and regularly check calibration to maximize your therapy’s effectiveness and achieve better joint relief.
Frequently Asked Questions
Can Red Light Therapy Be Combined With Other Arthritis Treatments?
Yes, you can combine red light therapy with other arthritis treatments. It works well as a complementary approach, enhancing overall pain relief and joint function. Always discuss treatment integration with your healthcare provider to guarantee safety and effectiveness. Red light therapy can be used alongside medications, physical therapy, or alternative methods, providing a holistic approach to managing arthritis symptoms. This combined strategy may improve your comfort and quality of life.
How Long Should Each Red Light Therapy Session Last?
You should aim for red light therapy sessions lasting about 10-20 minutes each, as if you’re giving your joints a mini spa retreat! For ideal results, stick to a consistent treatment schedule, ideally 3-5 times a week. Longer sessions won’t necessarily help and could cause irritation, so keep your session duration manageable and maintain regular treatment frequency to see the best relief from arthritis pain.
Are There Specific Red Light Wavelengths Recommended for Arthritis?
Yes, for arthritis, you should look for red light with wavelength specificity around 630-670nm for effective joint penetration. This range penetrates tissues deeply enough to target inflamed joints, reducing pain and inflammation. Make sure the device is designed for therapeutic use, and follow the manufacturer’s guidelines for ideal results. Consistent sessions with the right wavelength help maximize the benefits of red light therapy for your joints.
Is Red Light Therapy Safe for All Age Groups With Arthritis?
Red light therapy is generally safe for all age groups with arthritis, but you should always follow safety guidelines and consider age considerations. While it’s a powerful tool that can ease joint pain, children, seniors, or those with specific medical conditions should consult a healthcare professional first. This way, you avoid any risks and guarantee the therapy works effectively, making your treatment safe and beneficial for everyone.
How Soon Can I Expect to See Pain Relief Results?
You can typically expect to see pain relief within a few days to a couple of weeks of consistent red light therapy. Many users notice symptom improvement as early as the first week, but it varies based on individual factors and treatment frequency. To achieve the best results, stick with your routine and monitor your progress regularly, understanding that timing expectations differ for each person.
Conclusion
By mastering mindful placement and maintaining a motivated routine, you can maximize your red light relief. Focus on frequent, focused sessions to foster faster, firmer relief from arthritis aches. Avoid awkward positioning and amateur mistakes—align your approach with accuracy and awareness. With consistent care and clever positioning, you’ll conquer discomfort, create comfort, and champion your joint health. Embrace the habit, optimize your setup, and see your soreness soften and soothe more swiftly.