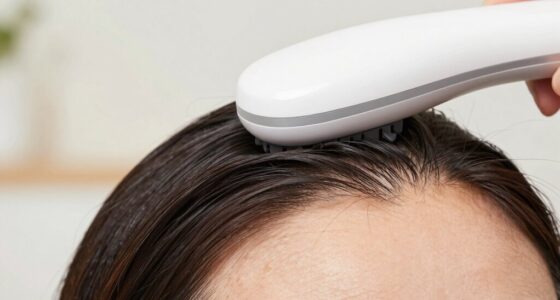

When microneedling at home, it’s essential to choose the right needle depth for your skin area to avoid damage or ineffective results. Typically, use 0.25 mm for sensitive areas and 0.5–1.0 mm for thicker skin. Always follow your device’s instructions, test on small areas first, and monitor your skin’s response. Proper setting and technique reduce risks and improve outcomes. Keep going to discover more tips for safe, effective DIY microneedling.
Key Takeaways
- Always verify and set the recommended needle depth per manufacturer instructions before each at-home session.
- Use shorter needles (0.25–0.5 mm) for sensitive areas and longer needles (0.5–1.0 mm) for deeper skin stimulation.
- Start with shallow depths, monitor skin response, and adjust gradually to avoid irritation or damage.
- Maintain strict hygiene by thoroughly cleaning the device before and after use to prevent infections.
- Seek professional advice if you experience prolonged redness, irritation, or adverse reactions during home microneedling.
Why Needle Depth Matters in DIY Microneedling
Understanding why needle depth matters in DIY microneedling is essential because it directly affects the safety and effectiveness of your treatment. If the needle isn’t calibrated correctly, it can cause unnecessary skin trauma or fail to stimulate collagen properly. Your skin sensitivity varies, so using a needle depth that’s too deep can lead to irritation, redness, or even damage. Conversely, needles that are too shallow might not produce noticeable results. Proper needle calibration ensures consistent depth, which is vital for safe, effective microneedling. Effective calibration techniques can help maintain the right needle length throughout your treatments. Additionally, understanding how to select the right needle depth can help optimize your results and minimize potential risks. Knowing your region-specific skin characteristics can also inform better needle depth choices to suit your individual needs, especially since skin type influences optimal needle settings. Considering microplastics in dust and other environmental factors can further refine your approach to safe at-home microneedling practices.
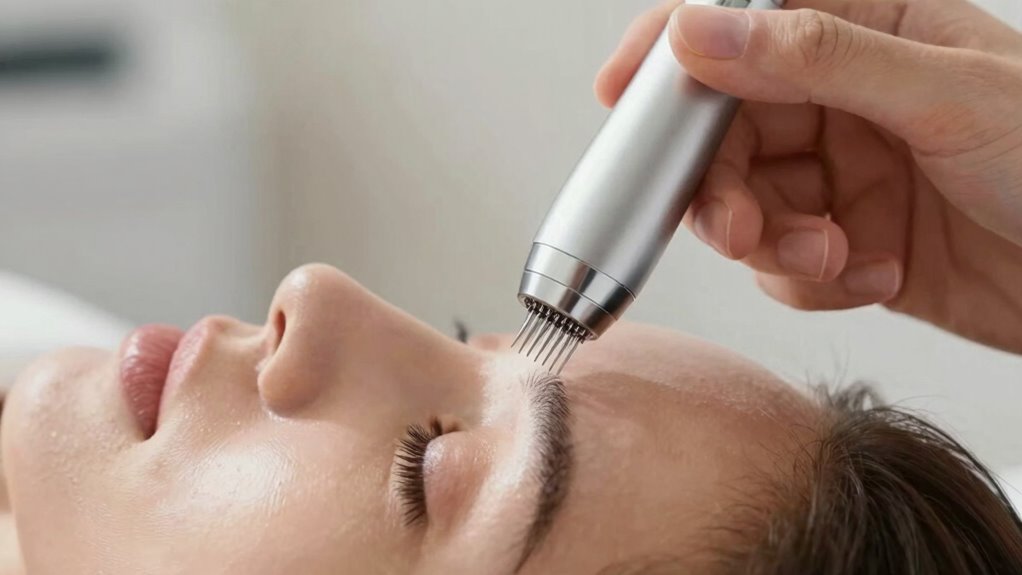
How to Choose the Right Needle Length for Different Skin Areas

Choosing the right needle length for different skin areas guarantees your microneedling sessions are both safe and effective. Needle customization is key because each skin area has unique needs. For instance, sensitive areas like around the eyes require shorter needles, typically 0.25 mm, to avoid damage. Areas with thicker skin, such as the cheeks or jawline, can handle longer needles, around 0.5 to 1.0 mm, to target deeper concerns. When selecting needle length, consider skin area specificity to prevent unnecessary injury and optimize results. Shorter needles promote surface rejuvenation, while longer ones stimulate collagen more deeply. Additionally, understanding skin anatomy helps in choosing the most appropriate needle length for each area. Proper needle depth is essential to balance safety and efficacy in your treatment. Recognizing regional skin differences ensures the correct needle length is used for optimal outcomes. Adjusting needle length based on skin sensitivity can further enhance safety and comfort during your DIY microneedling routine. Being aware of skin condition can also guide you in selecting the safest needle size for your individual needs.
What Are the Risks of Using the Wrong Needle Depth at Home?
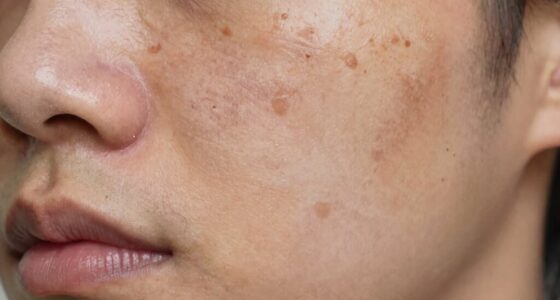
Using the wrong needle depth during at-home microneedling can lead to serious skin issues. If you go too deep, you risk damaging your skin’s layers, causing pain, redness, and prolonged irritation. Shallow depths may be ineffective but still cause unnecessary skin irritation. Incorrect needle settings can also increase infection risk, especially if tools aren’t sterilized properly. These mistakes can lead to scarring or hyperpigmentation. Additionally, neglecting to consider inclusive casting and diverse skin types can result in unsuitable treatments that worsen skin conditions. Proper knowledge of melanin-rich skin is essential to prevent adverse reactions and ensure safe results. Understanding skin physiology helps tailor treatments to individual needs and minimizes complications. Recognizing individual skin responses is also crucial for customizing treatments and avoiding adverse effects. Being aware of skin type variability can help prevent adverse reactions and optimize treatment safety.
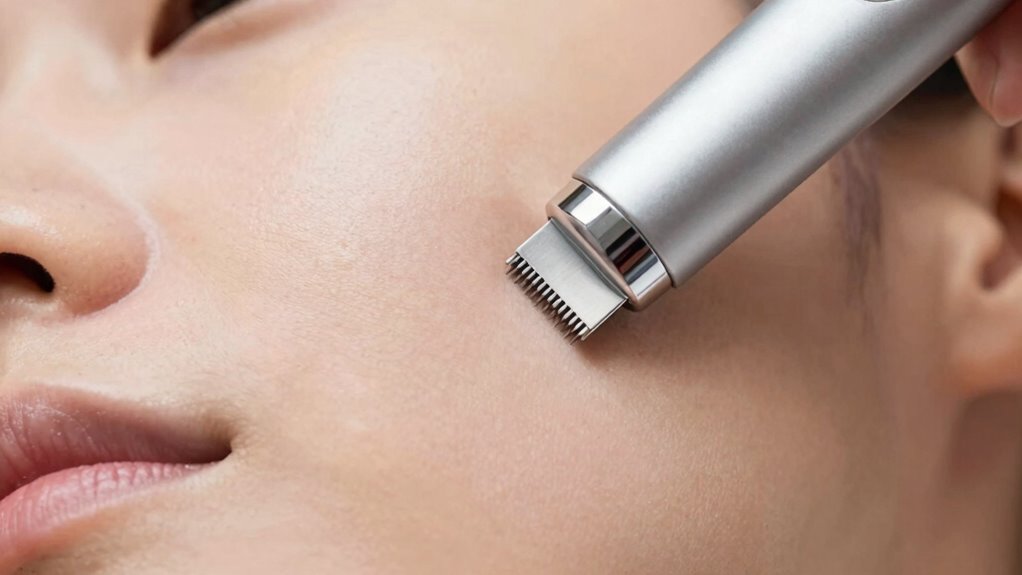
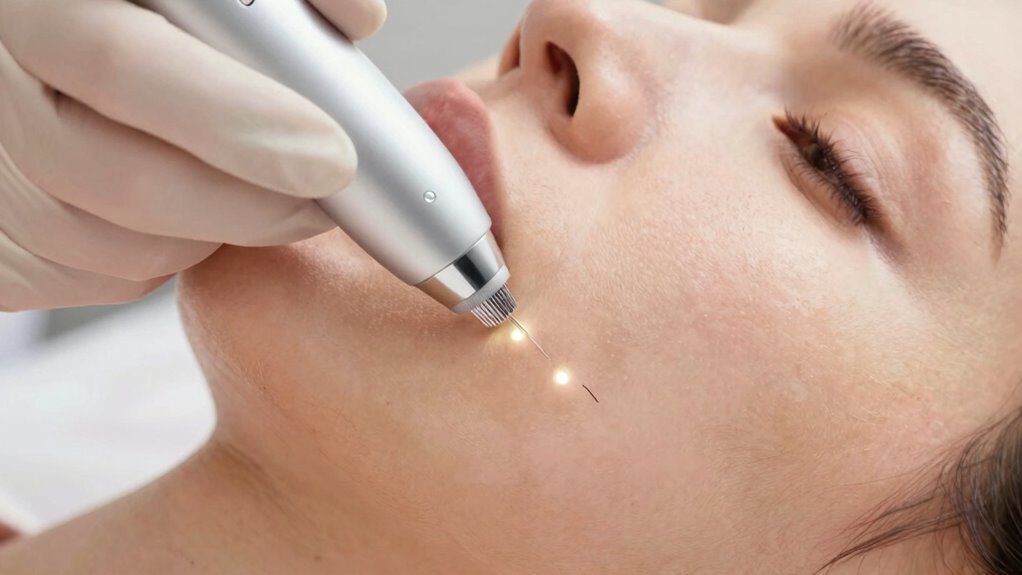
How to Set Your Dermaroller or Derma Pen Safely
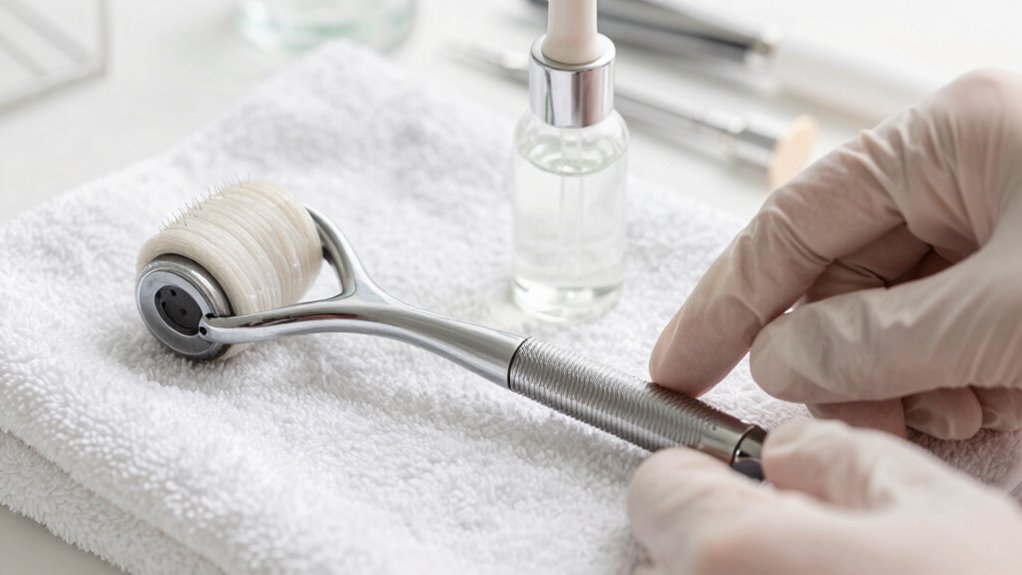
To set your dermaroller or derma pen safely, start by adjusting the needle length to suit your skin needs. Use gentle pressure to avoid irritation, and always follow the manufacturer’s instructions for proper use. This careful setup helps guarantee effective treatments without unnecessary risks. Additionally, understanding early detection signs can help identify skin issues promptly before they worsen. Being aware of infection symptoms is essential to prevent complications and ensure a safe healing process. Proper knowledge of skin anatomy can further enhance the safety and effectiveness of your microneedling routine. Maintaining appropriate skin hygiene can also reduce the risk of infections and promote better healing. Incorporating security measures in your routine can help protect your skin from external contaminants and enhance recovery.
Adjust Needle Length Properly
Adjusting the needle length on your dermaroller or derma pen is a crucial step to guarantee safe and effective microneedling. Proper needle gauge and precise depth calibration are essential to avoid skin damage and achieve desired results. Before starting, check your device’s settings and ensure it’s set to the correct needle length for your skin type and treatment goals. Remember, longer needles penetrate deeper but carry higher risks, so adjust carefully. Use these tips:
- Confirm the needle gauge matches your device specifications
- Set the depth calibration according to your skin’s sensitivity
- Always test on a small area first
- Avoid excessive adjustments to prevent injury
- Proper calibration ensures consistent treatment outcomes and safety. Additionally, using the correct DIY tools and following safety tips can help prevent mishaps during your procedure. Being aware of needle depth rules is vital for customizing your treatment and minimizing potential harm. Understanding skin sensitivity can also help you choose the appropriate needle length for your needs. Maintaining device maintenance is important to keep your tools functioning accurately and safely.
Properly adjusting the needle length ensures safe, effective microneedling at home.
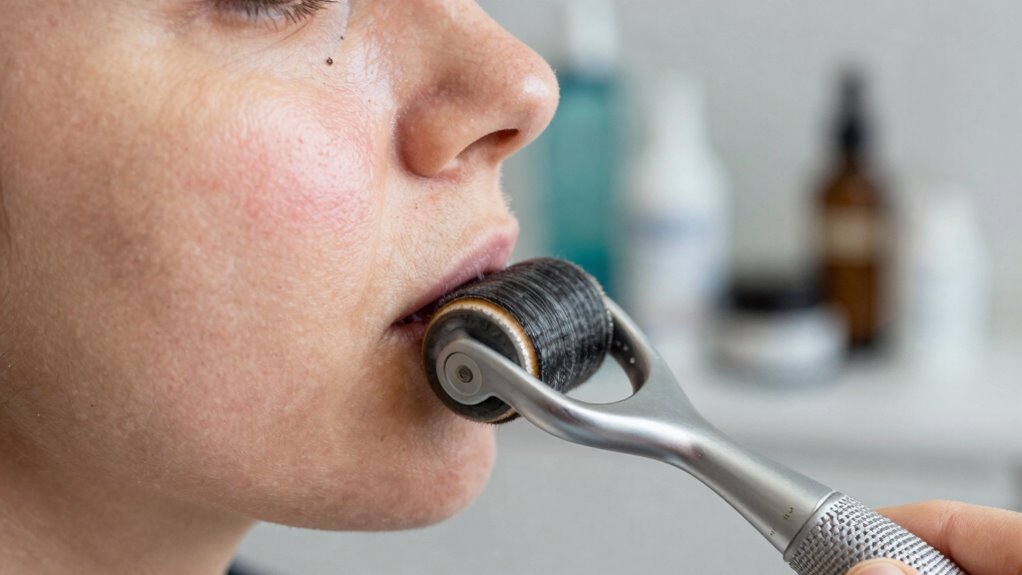
Use Gentle Pressure Technique
Applying gentle pressure while gliding your dermaroller or derma pen across the skin helps prevent unnecessary trauma and guarantees effective micro-injuries. Focus on pressure control, avoiding pressing too hard or too lightly. Consistent technique is key—maintain steady, even pressure throughout each pass to ensure uniform microneedling effects. Rushing or applying inconsistent force can lead to uneven results or skin damage. Keep your movements smooth and controlled, adjusting your grip as needed to sustain a gentle touch. Remember, the goal is to encourage your skin’s natural healing without causing excessive trauma. Practicing consistent pressure not only promotes safer treatments but also improves overall results, making your at-home microneedling safer and more effective. Proper technique helps maximize benefits and minimize risks of skin injury.
Follow Manufacturer Instructions
Following the manufacturer’s instructions is essential to guarantee your dermaroller or derma pen is set up safely and effectively. Proper setup ensures you target the right skin layers, promoting ideal skin rejuvenation and maximizing hyaluronic acid absorption. Always check the recommended needle depth and device settings before use. Clean your device thoroughly to prevent infections, and use gentle pressure during treatment. Pay attention to any specific guidelines for your device model to avoid skin damage. Remember, consistent adherence to instructions helps you achieve smoother, healthier skin without unnecessary risks. By following these steps, you’ll ensure safe microneedling at home, boosting your skin’s natural rejuvenation process and enhancing hyaluronic acid penetration for a more youthful glow.
- Read and follow all manufacturer guidelines carefully
- Adjust needle depth according to instructions for skin rejuvenation
- Clean your device before and after use
- Use gentle pressure to avoid skin trauma
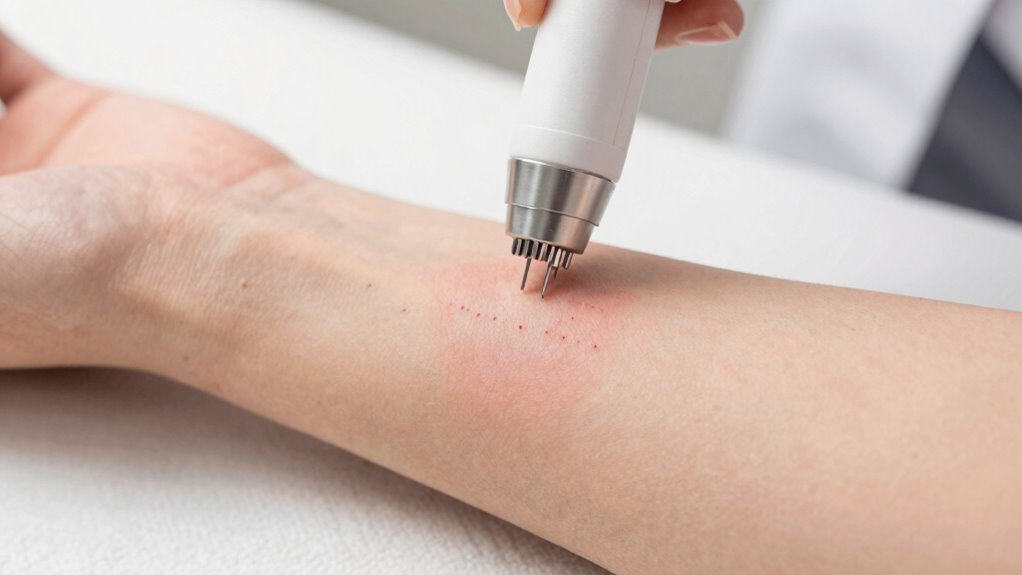
How to Monitor Your Skin and Adjust Needle Depth Safely
Pay close attention to how your skin reacts during and after each session; redness, swelling, or discomfort can signal that you need to modify. If your skin shows signs of irritation, consider reducing the needle depth or spacing between passes. Monitoring these indicators helps ensure safe and effective microneedling at home.
Skin Response Indicators
Monitoring how your skin responds during at-home microneedling is essential for safety and effectiveness. You need to pay close attention to skin sensitivity and healing indicators to avoid damage. Look out for signs like increased redness, swelling, or discomfort that persist beyond normal healing. These may suggest your needle depth is too deep or your skin needs more time to recover. Gentle pinpoint bleeding can be normal, but excessive bleeding or pain isn’t. Also, monitor how quickly your skin heals between sessions—longer healing times may indicate irritation. Staying attentive helps you adjust your technique accordingly, ensuring safe, effective results. Remember, consistent observation is key to mastering at-home microneedling without compromising your skin’s health.
Adjusting Needle Depth
Since adjusting your needle depth is essential for safe microneedling, it’s important to pay close attention to how your skin reacts during each session. Start by checking your device’s needle calibration to ensure consistent penetration. If you notice excessive redness, irritation, or discomfort, reduce the needle depth to match your skin sensitivity. For areas with thinner skin, such as around the eyes, use a shallower setting. Conversely, for thicker skin like the cheeks or jawline, you may increase the depth slightly, but always monitor your skin’s response. Regularly assess your skin’s reaction after each pass and adjust the needle depth accordingly to prevent damage. Proper calibration and responsiveness to skin sensitivity are key to effective, safe microneedling at home.
When to Seek Professional Help for Needle Depth Concerns
While microneedling at home can be effective, it’s important to recognize when needle depth concerns require professional intervention. If you notice persistent pain, bleeding, or unusual swelling, stop immediately. You should consult a dermatologist if you experience any adverse reactions or if you’re unsure about your technique. Seek professional help if:
- Redness and irritation last more than a few days
- You develop signs of infection or scarring
- You’re unsure about adjusting needle depth safely
- You notice worsening skin condition after treatment
A dermatologist can assess your skin, recommend appropriate treatments, and help you avoid damaging your skin. Remember, proper needle depth is vital for safe, effective microneedling—when in doubt, always consult a professional.
Frequently Asked Questions
Can I Use the Same Needle Depth for All Skin Types?
No, you shouldn’t use the same needle depth for all skin types. Your skin sensitivity varies, so adjusting needle calibration is crucial. For sensitive skin, use a shallower depth to minimize irritation. For thicker skin, you can go a bit deeper for better results. Always start with a lower setting and gradually increase it, paying attention to how your skin responds. This tailored approach helps guarantee safe and effective microneedling at home.
How Often Should I Adjust Needle Depth During Treatment?
You should adjust your needle gauge based on skin sensitivity and treatment response. Don’t be the person who stubbornly keeps the same needle depth; your skin isn’t a stubborn mule. If you notice increased redness or discomfort, dial back the needle depth. Conversely, if your skin responds well, you might cautiously increase it. Always listen to your skin—it’s the boss, not the gauge.
Are There Specific Signs Indicating I Need a Shallower or Deeper Needle?
Yes, you should modify needle depth if you notice increased skin sensitivity or if your pore size appears more prominent. If your skin becomes tender, red, or inflamed, switch to a shallower setting to prevent irritation. Conversely, if you see little improvement and your pores remain enlarged, consider gradually increasing depth. Always listen to your skin’s response and avoid overdoing it to ensure safe, effective microneedling.
Does Needle Depth Affect the Healing Time After Microneedling?
Yes, needle depth impacts healing time after microneedling. When you use a deeper needle, it causes more controlled trauma to your skin, which can extend healing time. Conversely, shallower needle depth results in less damage, leading to quicker recovery. To guarantee ideal results and minimize downtime, adjust your needle depth based on your skin’s needs and follow proper aftercare. This way, you balance effective treatment with shorter healing periods.
Can Incorrect Needle Depth Cause Permanent Skin Damage?
Could incorrect needle depth cause permanent skin damage? Yes, it can, especially if you don’t consider your skin’s elasticity and proper needle sterilization. Going too deep may puncture or scar skin, leading to lasting harm. Always choose the right needle depth for your skin type and verify sterilized tools. Have you checked your device’s settings and cleaned everything thoroughly? Proper technique protects your skin’s health long-term.
Conclusion
Remember, mastering needle depth is key to safe, effective at-home microneedling—like a modern-day alchemist refining their craft. Always choose the right length for each skin area, monitor your skin’s response, and don’t hesitate to seek professional help if something feels off. Think of it as your skin’s own Renaissance—tuning it precisely to reveal glowing, healthier skin. Handle your tools with care, and you’ll turn your DIY routine into a true masterpiece.