To track LED results with photos, establish a consistent photography setup by using the same camera settings, angle, and lighting conditions. Take initial baseline images when the LEDs are new, then periodically capture new photos to monitor changes over time. Organize your images by date and location, and compare them side-by-side or with overlay tools to spot brightness, color, or uniformity shifts. If you want to learn more about optimizing your photo documentation process, keep exploring these helpful strategies.
Key Takeaways
- Take initial baseline photos of LEDs at installation for future comparison.
- Use consistent camera settings, angles, and lighting conditions for all images.
- Regularly capture photos over time to monitor changes in brightness, color, and uniformity.
- Organize images systematically by date and location to track performance trends.
- Use image analysis tools to detect subtle differences and identify early signs of LED deterioration.

Tracking LED results is essential to understanding how your lighting investments are performing and ensuring you’re achieving your desired outcomes. Photos provide a straightforward way to visually document and compare the performance of your LED lighting over time. By capturing images at different intervals, you can identify changes in brightness, color consistency, and uniformity that might otherwise go unnoticed. This visual record helps you assess whether the LEDs are meeting your specifications and if any adjustments are necessary.
Tracking LED performance with photos helps monitor brightness, color, and uniformity over time.
When you start tracking with photos, make sure to establish a consistent setup. Use the same camera, lens, and settings for each shot to ensure comparability. Position your camera at the same angle and distance from the lighting fixtures every time. Consistency in your approach minimizes variables that could distort your comparisons. Good lighting conditions in the environment are also important; avoid taking photos in overly bright or dark conditions, as they can affect the clarity and detail of your images.
Taking photos during different phases of the LED’s lifecycle is particularly valuable. Capture initial images when the LEDs are new to serve as a baseline. Then, periodically photograph the same areas to observe any shifts in illumination or color drift. If you notice dimming, flickering, or color shifts in the photos, it signals that your LEDs might need maintenance or replacement. Over time, these visual cues assist you in scheduling repairs proactively rather than reacting to sudden failures.
Review your photo collection regularly, ideally in a digital folder organized by date or location. Use image comparison tools or simple side-by-side viewing to spot subtle differences. Enhanced software options can overlay images or highlight areas of variance, making it easier to detect issues. Documenting these findings alongside your photos can help you track patterns, such as gradual decline or inconsistent lighting across different fixtures or zones, enabling more informed decisions about upgrades or repairs. Additionally, understanding lighting quality helps ensure your LED installations meet your expectations and standards.
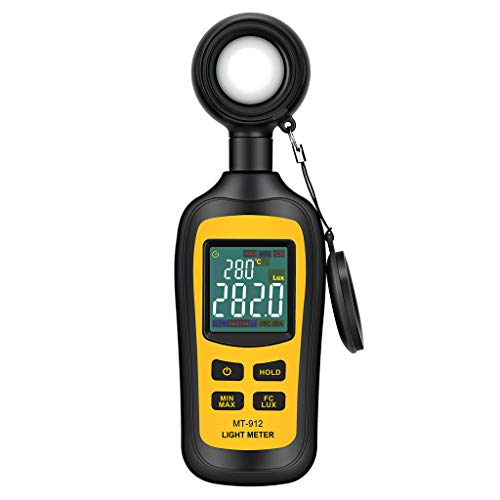
Light Meter Digital Illuminance Meter Handheld Ambient Temperature Measurer, Range up to 200,000 Lux, Luxmeter with 4 Digit Color LCD Screen
Measures luminosity from 0 to 200,000 Lux and ambient temperature
As an affiliate, we earn on qualifying purchases.
As an affiliate, we earn on qualifying purchases.
Frequently Asked Questions
Can I Use Smartphone Cameras to Track LED Results Effectively?
Yes, you can use your smartphone camera to track LED results effectively. Make sure your camera is steady and use good lighting to capture clear images. Take photos at regular intervals for consistent monitoring. Use editing or analysis apps to compare images over time, helping you observe changes accurately. While smartphones are convenient, for more precise results, consider using specialized camera equipment or software designed for detailed LED analysis.
What Lighting Conditions Are Best for Capturing LED Photos?
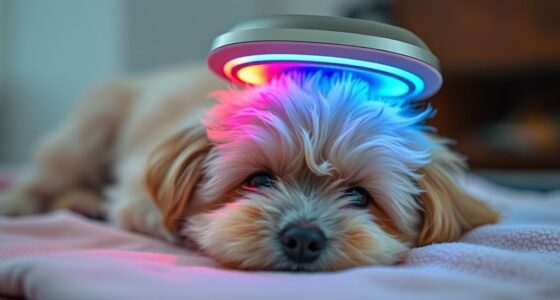
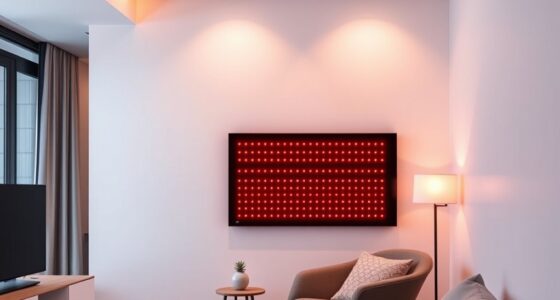
You’ll want to capture LED photos in gentle, diffused lighting conditions, preferably in a softly lit room or during overcast days. Avoid direct sunlight or harsh artificial lights, as they can wash out the LED’s glow and obscure details. Keep your camera steady, and aim for a balanced environment where the LED’s brightness shines without competing with surrounding lights, ensuring clear, accurate results every time.
How Often Should I Take Photos to Monitor LED Progress?
You should take photos weekly to monitor your LED progress. Consistent timing helps you see changes clearly over time. Choose the same lighting and angle each time for accurate comparisons. Keep your camera settings steady, and avoid changing background or light conditions. Regular photos allow you to track improvements, identify patterns, and adjust your LED therapy plan as needed, ensuring you stay on top of your progress effectively.
Are There Specific Camera Settings Recommended for LED Tracking?
You should set your camera to the highest resolution and use a macro lens for incredible detail, making every LED’s glow pop like a supernova. Keep your ISO low to avoid grainy images, and set a steady tripod for crystal-clear shots. Use natural or soft white light to prevent color distortion, and shoot in RAW format. These settings will capture the LED’s brilliance perfectly, turning your photos into a visual masterpiece.
How Do I Interpret Color Changes in LED Photos Accurately?
You interpret color changes in LED photos accurately by focusing on consistent lighting conditions and using a calibrated color reference. Pay attention to hue, saturation, and brightness shifts, noting subtle differences. Use image analysis software to quantify color variations, ensuring your camera settings are fixed during the shoot. Compare against known standards or control images to determine if the color change reflects actual LED performance or environmental influences.

Rsrteng CCTV Camera Tester, 8K 32MP IP Camera Tester with POE++ Max 90W 8MP CVI TVI AHD SDI CVBS Camera Tester 7inch IPS Touch Screen CCTV Tester Support SFP, WiFi HD IPC Tester IPC-9800ADHS Pro
【IP Camera Tester】Network camera tester support max 8K 32MP 8160*3616P 4K 12MP 4000*3000P IP Camera test. Real-time network…
As an affiliate, we earn on qualifying purchases.
As an affiliate, we earn on qualifying purchases.
Conclusion
By consistently tracking your LED results with photos, you’ll discover the secret to transforming your space into a mesmerizing light show that could outshine the stars themselves. Every snapshot becomes a step closer to perfection, turning mundane lighting into a breathtaking spectacle. Keep documenting, and you’ll soon wield the power to create dazzling displays that leave everyone in awe—almost as if you’ve harnessed the very essence of light itself. Your luminous masterpiece awaits—go ahead and make it unforgettable!

2-Pack Photography Lighting Kit, NiceVeedi 25W LED Video Light Kit, 2900-7000K Dimmable Studio Light with Tripod Stand, 73" Stream Light for Video Recording
【MULTIPLE COLOR TEMPERATURE & ADJUSTABLE BRIGHTNESS】Provide 3 Color temperatures (2900K, 4800K & 7000K)to create various lighting atmosphere; This…
As an affiliate, we earn on qualifying purchases.
As an affiliate, we earn on qualifying purchases.

Spectrum Analyzer, Audio Visualizer, Sound Control Light, LED Music Spectrum Display for Gaming Room Car Decoration, for Ambient Lighting, Decoration, etc
Sound Control Pickup Rhythm Lights: Pickup ambient light is equipped with a built in sound sensor, capturing surrounding…
As an affiliate, we earn on qualifying purchases.
As an affiliate, we earn on qualifying purchases.