Starting red light therapy is simple with a 14-day plan. You’ll want to choose a device with proper safety certifications and position it 6–12 inches from your skin for about 10–20 minutes daily. Consistency is key, so stick to your schedule and track your progress by noting skin improvements or energy levels. Following these steps can maximize your results—keep going, and you’ll discover even more benefits along the way.
Key Takeaways
- Start with daily 10-20 minute sessions at a consistent time to build a routine.
- Position the device 6–12 inches from your skin, targeting specific areas for effective exposure.
- Follow safety precautions, including avoiding direct eye contact and using goggles if necessary.
- Track progress with a journal or photos to monitor skin improvements and energy levels.
- Maintain device calibration and proper placement to maximize benefits and prevent common mistakes.
What Is Red Light Therapy and How Can It Benefit Beginners?
Red light therapy is a non-invasive treatment that uses specific wavelengths of red and near-infrared light to promote healing and improve skin health. Based on photobiomodulation research, this therapy activates cells by stimulating mitochondria, which boosts energy production and accelerates repair processes. The red light wavelengths typically range from 620 to 750 nanometers, allowing the light to penetrate deeply into the skin and tissues. As a beginner, you’ll find that red light therapy can help reduce inflammation, support skin rejuvenation, and alleviate minor pain. Its gentle approach makes it suitable for daily use without side effects. Additionally, understanding how these wavelengths interact with cellular energy can help you harness this innovative treatment to enhance your overall wellness and skin health. Being aware of the light spectrum involved can help you select the most effective devices for your needs, and awareness of photobiomodulation principles can further optimize your results. Knowing how light interacts with tissues can also improve your understanding of its healing potential. Exploring how specific wavelengths influence cellular functions can deepen your appreciation for this therapy’s effectiveness.
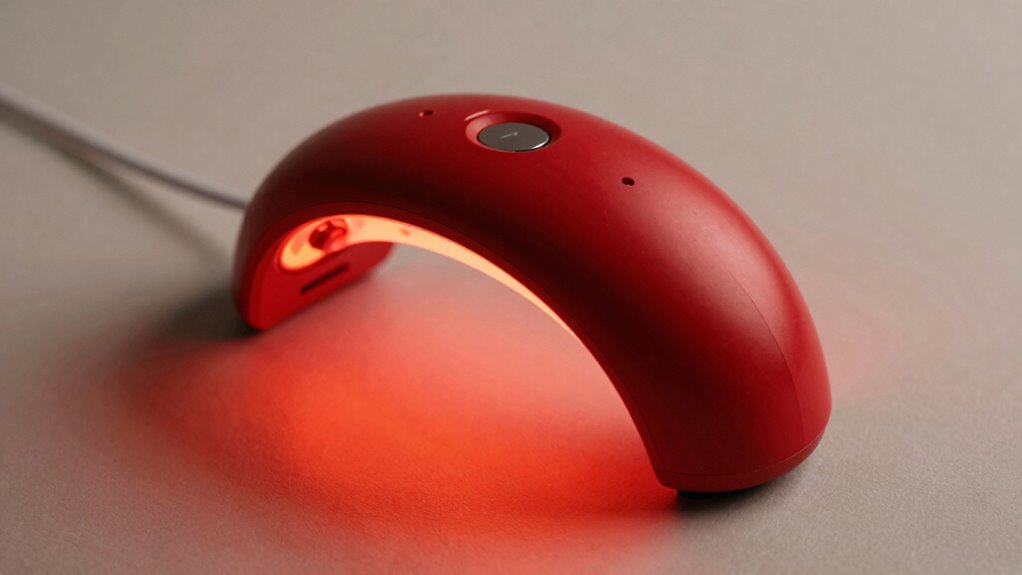
How to Choose and Set Up Your Red Light Device Safely
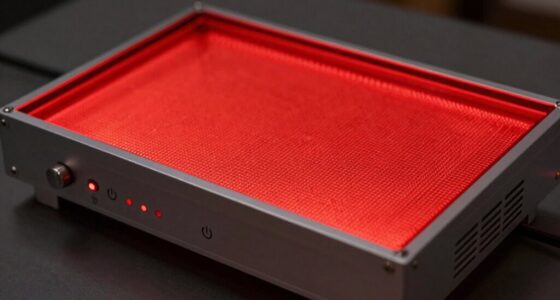
When choosing a red light device, ensuring safety and effectiveness by selecting one that meets recognized standards is vital. Look for devices with proper certifications and clear instructions. Proper device placement is key; position it at the recommended distance, usually around 6-12 inches from your skin, to guarantee even exposure. Follow safety precautions like avoiding direct eye contact—use protective goggles if needed—and never look directly into the light. Make sure your setup is stable and in a safe, clutter-free area to prevent accidents. Read the manufacturer’s guidelines carefully, and double-check that your device is functioning correctly before each session. Additionally, device calibration can ensure that your red light therapy is delivered accurately and safely. Ensuring your device has proper safety certifications helps verify that it meets industry standards, minimizing potential risks. Proper setup and safety precautions help you maximize benefits while minimizing risks during your red light therapy routine. Remember that Floating on Water techniques can also support relaxation and recovery if incorporated into your wellness routine. Incorporating routine device maintenance further ensures ongoing safety and optimal performance of your device.
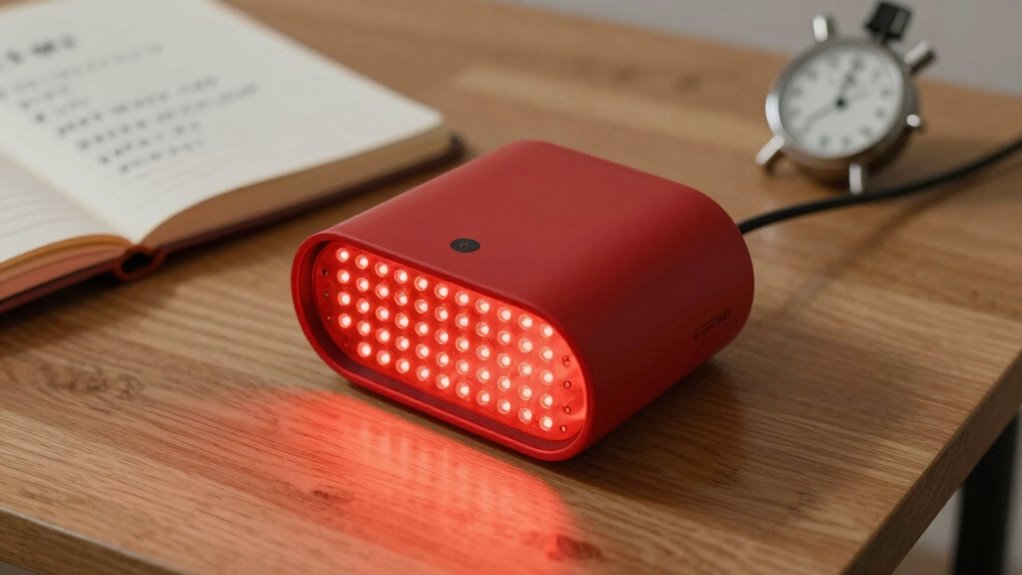
Your Easy 14-Day Red Light Therapy Routine: How Often and How Long?
To get the best results from your red light therapy, it’s important to follow a consistent schedule over the 14 days. Aim for a session duration of about 10 to 20 minutes daily, depending on your device’s power and instructions. You should prioritize proper device placement, ensuring the light is directed at the target area and kept at the recommended distance—usually a few inches from your skin. Consistency is key, so try to stick to the same time each day to develop a routine. Avoid overdoing it, as longer sessions or more frequent use won’t necessarily accelerate benefits and could cause discomfort. Keep your sessions manageable and enjoyable, and you’ll set a solid foundation for positive results. Incorporating proper device placement techniques can also help you relax and maximize the effectiveness of each session. Additionally, paying attention to treatment duration can help prevent overstimulation and optimize your experience. Maintaining proper session frequency ensures you don’t unintentionally hinder your progress through overuse or underuse. Incorporating recovery routines such as foam rolling can further enhance your overall results and support your body’s healing process.
How to Track Your Progress and Know When It’s Working
Tracking your progress helps you stay motivated and guarantees your efforts are paying off. To assess effectiveness indicators, keep a daily journal of how you feel, noting any improvements in energy, mood, or skin. Use progress tracking tools like photos or measurement charts to visualize changes over time. Recognize that results vary individually, but consistent monitoring reveals patterns and signs of efficacy. Here’s a simple way to organize your observations:
| Effectiveness Indicators | Notes |
|---|---|
| Skin improvements | Reduced redness, glow |
| Energy levels | More vitality in mornings |
| Mood changes | Increased positivity |
Regularly reviewing these indicators ensures you’re on the right track, helping you decide if adjustments are needed. Incorporating consistent skincare practices can further enhance your results and skin health over time. Additionally, understanding the impact of skincare routines can guide you in choosing the most effective products and methods for your unique skin type. Staying informed about future trends in skincare research can also help you adopt innovative approaches that may improve your routine even further. Being aware of electric dirt bike specifications, such as horsepower and speed, can inspire you to choose products that align with your goals for performance and sustainability.
Tips to Maximize Results and Avoid Common Mistakes
Maximizing your results requires intentional effort and awareness of common pitfalls that can hinder progress. To get the most out of your red light therapy, focus on these key tips. First, guarantee proper device placement—aim the light directly at the targeted area without obstruction, like clothing or hair, for optimal absorption. Second, maintain session consistency; sticking to your schedule ensures cumulative benefits and steady progress. Third, avoid rushing sessions or skipping days, which can dilute the therapy’s effectiveness. Picture a steady rhythm: placing the device precisely, sticking to a routine, and staying committed. Additionally, understanding the importance of comedomogenic ratings can help select the most suitable products for skin health. Incorporating device maintenance routines also ensures optimal performance and longevity of your equipment. Being aware of proper device calibration can further enhance safety and results during therapy sessions. By paying attention to device placement and keeping sessions consistent, you set yourself up for maximum results while sidestepping common mistakes that slow your progress.
Frequently Asked Questions
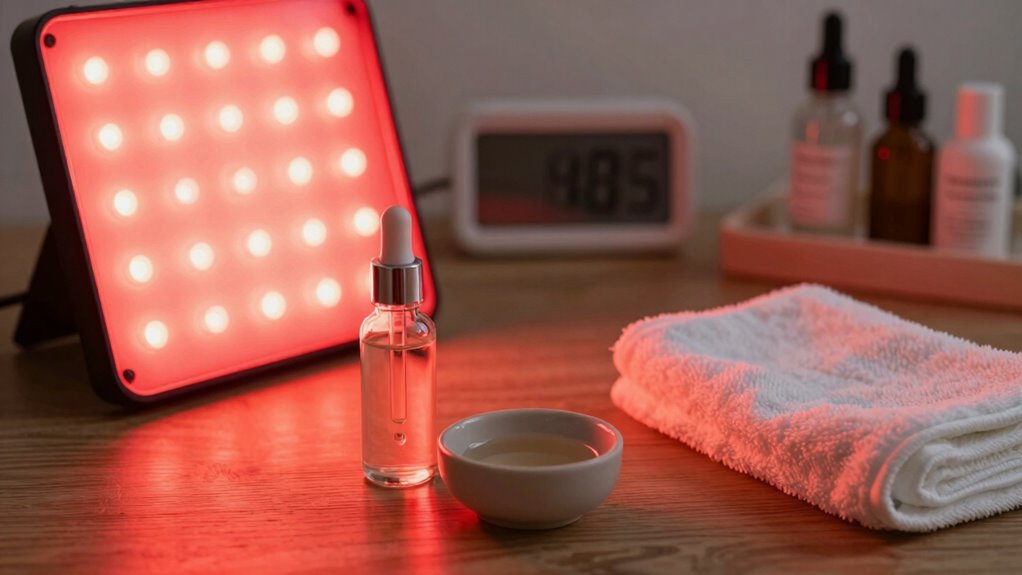
Can Red Light Therapy Be Used Alongside Other Skincare Treatments?
Yes, you can combine red light therapy with other skincare treatments, but it’s essential to seek professional guidance first. Combining treatments may enhance your results, but certain procedures might not work well together or could cause irritation. Always consult a skincare professional to develop a safe, effective plan tailored to your skin type. They can recommend the right timing and sequence for combining treatments, ensuring you get the best possible results.
Are There Any Age Restrictions or Contraindications for Beginners?
Sure, because everyone’s perfect, right? When it comes to age considerations, beginners should generally be over 18, but always check contraindication guidelines. Teens usually need parental guidance, and older adults should consult a healthcare professional first. While red light therapy is safe for most, it’s wise to follow age-specific precautions to avoid any unintended effects. So, yes, there are age restrictions—don’t ignore those contraindication guidelines!
What Should I Do if I Experience Skin Irritation?
If you experience skin irritation, stop using the red light immediately. For skin irritation management, gently cleanse the area with mild soap and apply a soothing, fragrance-free moisturizer. To guarantee red light safety, avoid exposing irritated skin to additional heat or harsh products. If discomfort persists or worsens, consult a healthcare professional. Always follow the device’s guidelines to minimize risks and maximize benefits.
How Long Should I Wait Between Sessions for Optimal Results?
You should wait at least 24 hours between sessions to allow proper recovery time and maximize results. This session frequency helps your skin and cells recover, preventing irritation or overexposure. If you notice any discomfort, extend the recovery time before your next session. Listening to your body is key—adjust the interval if needed to guarantee safe, effective use of red light therapy.
Is Red Light Therapy Effective for Specific Skin Conditions or General Wellness?
Think of red light therapy like watering a garden—you see results when you target specific needs. It’s effective for skin rejuvenation and acne treatment, helping reduce inflammation and promote healing. Personally, I saw my skin clearer after consistent sessions. While it benefits skin conditions, it also supports overall wellness by boosting circulation and energy. For best results, tailor your sessions to your skin’s unique needs and stick with it.
Conclusion
As you commence on this 14-day journey, think of the red light as a gentle sunrise, awakening your body’s potential. With patience and consistency, you’ll watch your health bloom like a garden in spring. Trust the process, and soon you’ll see progress shining through, illuminating your path forward. Remember, every small step is a seed planted for brighter days ahead—your transformation begins with this simple, guiding glow.